Beginner's Guide to Upcycling Furniture

Upcycling furniture is a creative and rewarding way to breathe new life into old or worn-out pieces. This guide will introduce you to the basics of upcycling, covering everything from selecting the right furniture to the techniques and tools needed to transform items into unique, personalized treasures. Whether you’re an absolute beginner or looking to refine your skills, this guide will provide you with helpful insights and practical advice to start your upcycling journey with confidence.

Understanding Upcycling and Its Benefits

What Is Upcycling?

Upcycling is more than just a trendy word; it is a sustainable practice that transforms unwanted or outdated furniture into something new and useful, often with added artistic flair. Unlike recycling, which breaks down materials to create new products, upcycling maintains the original form but enhances its design or functionality. This approach not only helps reduce landfill waste but also allows you to customize pieces according to your aesthetic preferences and needs.

Environmental Impact

One of the key benefits of upcycling is its positive environmental impact. By repurposing furniture instead of buying new, you reduce the demand for raw materials, decrease factory emissions, and limit the amount of furniture ending up in landfills. When you choose to upcycle, you’re actively participating in a more sustainable lifestyle, promoting resourcefulness while helping preserve natural ecosystems.

Personal and Economic Benefits

Beyond the environmental advantages, upcycling offers significant personal and economic benefits. Creating your own furniture allows you to inject personality and uniqueness into your living spaces. It can be an enjoyable hobby that improves your craftsmanship and design skills. Additionally, upcycling can save you money since finding affordable second-hand items and transforming them often costs far less than purchasing brand-new furniture.

Assessing the Condition of Used Furniture

When scouting used furniture, always carefully inspect the condition. Look for sturdy frames, solid joints, and any signs of rot or insect damage. While surface scratches or chips can usually be repaired or disguised, structural damage may require more advanced woodworking skills or might not be worth the time and effort. Choosing pieces with a strong foundation ensures your finished product will be durable and functional.

Selecting Materials That Are Easy to Work With

Wood furniture remains the most popular choice for upcycling due to its versatility and ease of modification. Pine, oak, and even plywood can be sanded, painted, or stained according to your design. Metal and plastic items can also be upcycled but typically require different tools and treatments. When starting out, it’s wise to pick pieces made from materials you feel comfortable working with and can easily obtain the right supplies for.

Considering Your Style and Intended Use

Before you commit to a piece, give thought to how it fits with your personal taste and intended décor. Are you aiming for a rustic farmhouse look, a modern minimalist vibe, or a colorful bohemian accent? Also, think about where and how the furniture will be used since this might influence the type of finishes or structural changes required. Choosing pieces that inspire you will keep motivation high during your project.

Essential Tools and Materials for Beginners

Basic Hand Tools

For beginners, essential hand tools include a hammer, screwdrivers, measuring tape, and sandpaper. These are fundamental for disassembling furniture, repairing joints, and smoothing surfaces. A good quality sanding block or electric sander can make sanding much easier and more effective by removing old paint or smoothing out imperfections, helping to create a clean surface for new paint or stain.

Preparing Furniture for Upcycling

01

Cleaning and Removing Old Finishes

Furniture must be thoroughly cleaned to remove dust, grease, and grime before any work begins. Use a mild detergent solution or specialized cleaners for stubborn dirt. Removing old paint or varnish might be necessary if they are flaking or incompatible with new finishes. This can be done with chemical strippers, sanding, or a heat gun, always following safety instructions to protect both yourself and the furniture.
02

Repairing Structural Damage

Once cleaned, carefully check for any dents, chips, cracks, or loose joints. Use wood glue, clamps, wood filler, or replacement screws to strengthen and repair weak areas. Hasty repairs can compromise the functionality and aesthetics of the piece, so work patiently and let adhesives cure fully before moving forward.
03

Sanding and Smoothing Surfaces

Sanding is essential for removing rough patches, smoothing out repairs, and helping paint or stain adhere uniformly. Start with a medium grit sandpaper to eliminate imperfections and follow up with a finer grit for a flawless finish. Take care to sand evenly and along the grain to avoid scratches that show through the paint or finish.

Painting and Distressing Techniques

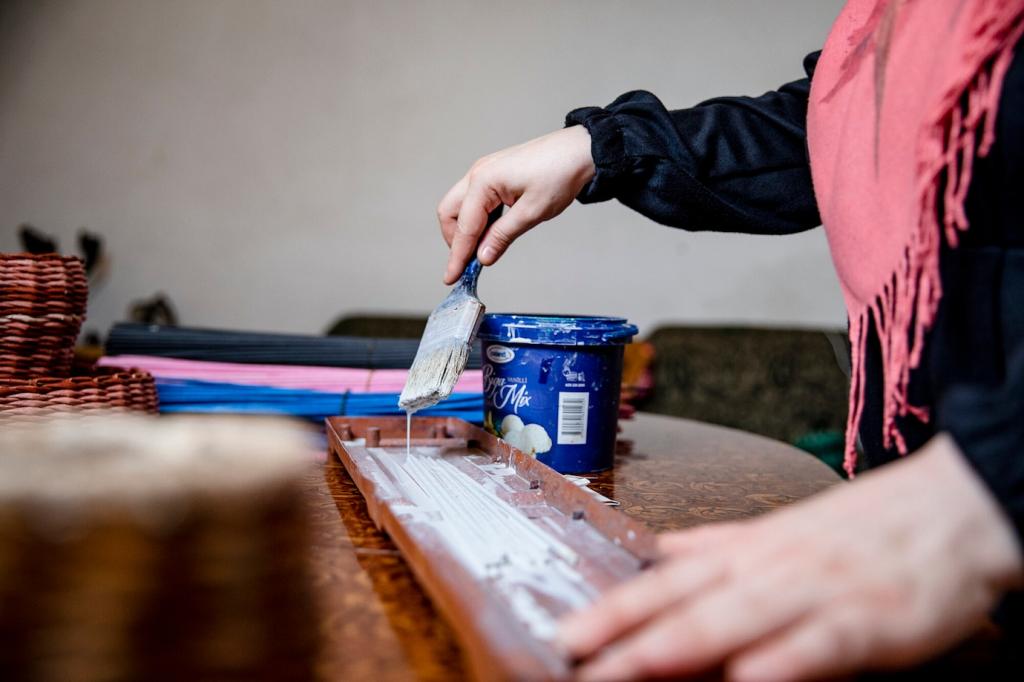
Painting is one of the easiest ways to dramatically transform furniture. Chalk paints are popular for their matte finish and blendability. Distressing techniques such as sanding edges or corners after painting, layering colors for a weathered look, or using waxes can add character and vintage charm. Experimenting with brushes, sponges, or stencils can also create interesting textures and patterns.

Decoupage and Stenciling

Decoupage involves attaching paper cutouts or fabric onto surfaces using glue and sealing them with varnish for a decorative effect. Stenciling allows you to add repeating patterns or motifs neatly and consistently. Both techniques enable intricate designs without requiring advanced painting skills, making them ideal for beginners aiming to personalize their furniture with minimal effort.

Adding Functional Features

Beyond aesthetics, you can improve your furniture’s usability by adding new features. Installing modern hardware like knobs and handles, creating hidden storage compartments, or modifying sections to serve new purposes increases value and functionality. These features also show your creativity and problem-solving skills, making an upcycled piece even more special and practical.

Finishing Touches and Maintenance

Choosing the Right Protective Finish

Protective finishes create a barrier against moisture, stains, and scratches. Varnishes, polyurethanes, and waxes are common options. Varnish and polyurethane provide a hard, durable surface ideal for items that see heavy use, while wax offers a softer, natural feel suited for decorative pieces. Selecting the finish depends on the type of furniture, location of use, and desired appearance.

Applying the Finish Correctly

Applying finishes with care is crucial to avoiding streaks, bubbles, or uneven coverage. Use clean brushes or cloths, and work in thin, even coats. Make sure to follow drying times between layers and consider light sanding between coats for a smooth finish. Proper application will protect your work and enhance the piece’s visual appeal.

Caring for Upcycled Furniture Over Time

Even well-finished furniture requires regular care. Dust frequently with a soft cloth, avoid harsh chemicals during cleaning, and protect surfaces from prolonged exposure to moisture or heat. For waxed pieces, periodic reapplication of wax helps maintain protection and sheen. Routine maintenance ensures your upcycled creations continue to shine and function beautifully.